Thurs-Sat 12, 13, 14 March 2026, 3 days (9.30 – 4.30)
Thurs-Sat 17, 18, 19 Sept, 3 days (9.30 – 4.30)
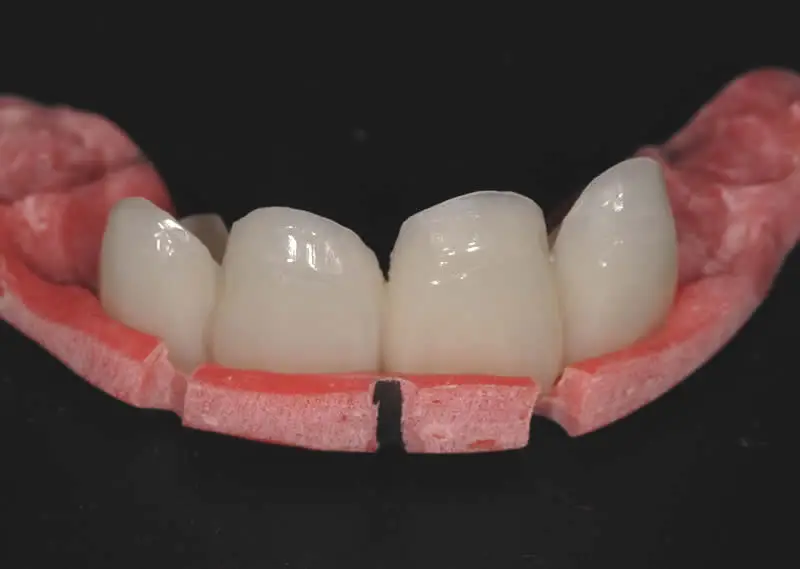
As you start moving from single tooth dentistry to more complex multiple tooth dentistry, the temporary restoration become an invaluable tool. Being able to produce stable chairside temporaries that look good and fit well will allow you to take the time needed to improve the quality and predictability of your treatment and give you the confidence and ability to start treating more complex cases. Good temporaries reduce stresses and allow you to stay in control of your cases.

The concept of fitting a high quality, long-term, chairside temporary early on in treatment and modifying it as treatment progresses to avoid breakage and remaking
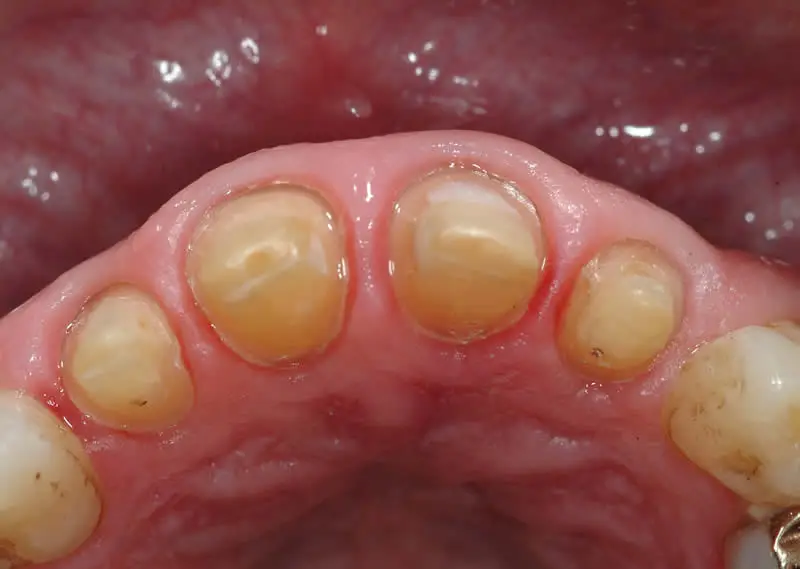
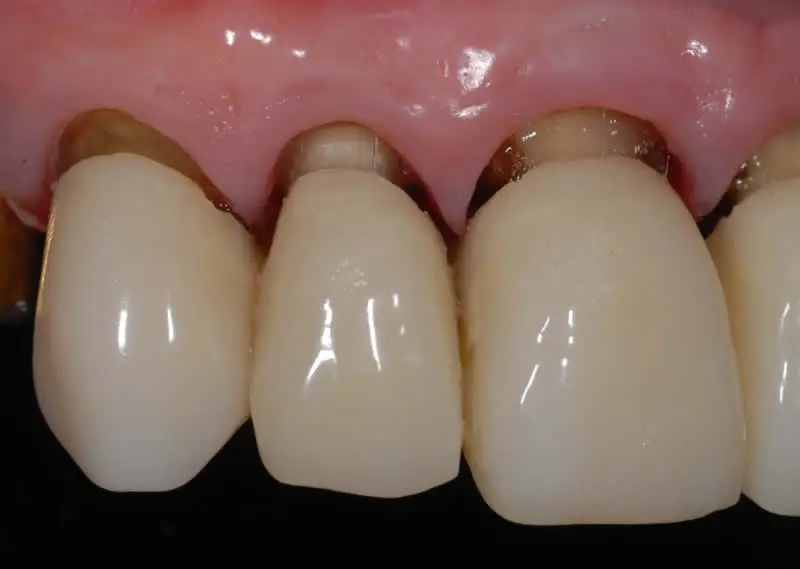
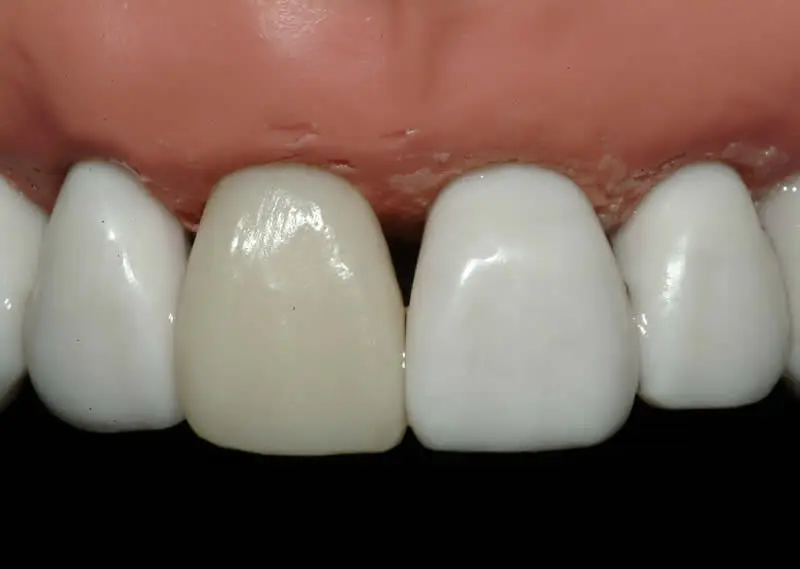
Using temporaries to optimise soft tissue health and improve final scans and impressions
The benefits of using PMMA and when it should be used as opposed to Bis-Acryl
Laboratory made provisionals vs chairside temporaries
Enhancing retention and strength to avoid loosening and breakage
Troubleshooting with temporaries: Repairs, avoiding de-cementation, aesthetic enhancement
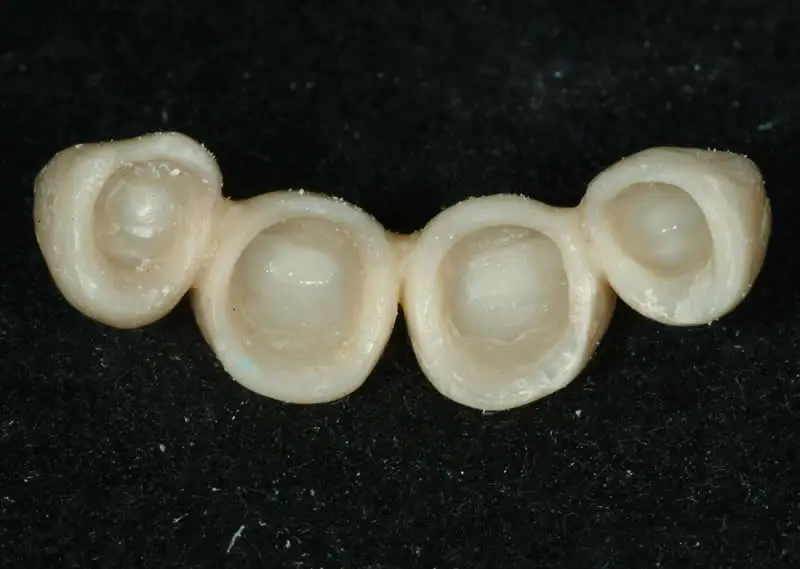
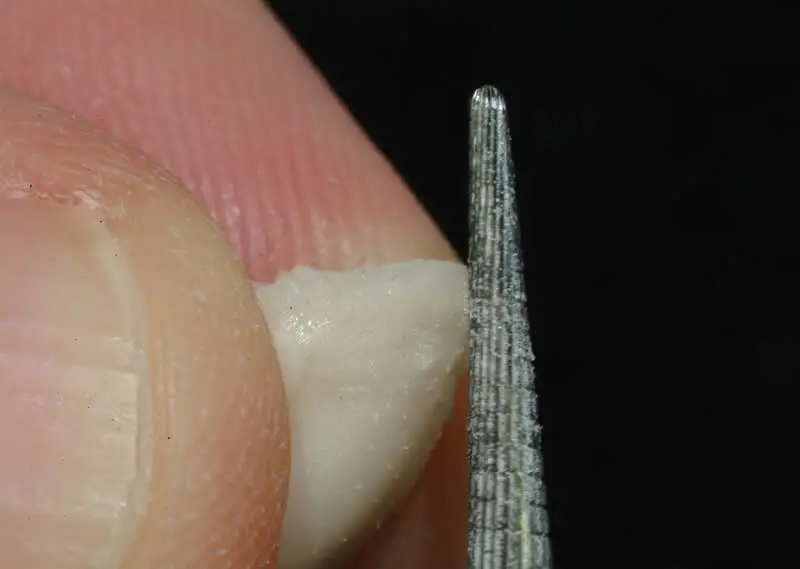
Learn how to use PMMA acrylic resin by making an anterior chairside temp
Remarginate temporaries to enhance fit , stability and soft tissue contour/health
Create and shape natural looking anterior temporaries
Repair and modification to avoid remaking
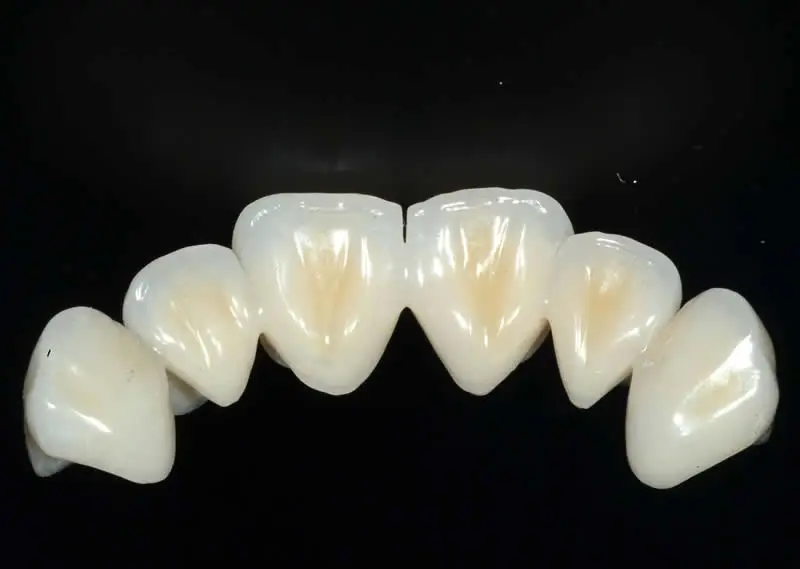
Fit and trim a set of anterior “shell temporaries”
Make a 3 unit PMMA posterior bridge
Create optimal embrasure spaces on a set of splinted temporaries to make them hygienic and appear individual
Veneer temporaries – Make a putty matrix and a set of Bisacryl temps
38 Harmont House,
20 Harley Street (entr Queen Anne St),
LONDON, W1G 9PJ,
United Kingdom
B.D.S. M.Sc (Rand) M.Ed. Cert in Prosthodontics (USA)
Clinical Lecturer, Eastman Dental Institute
Diplomate, American Board of Prosthodontics
Specialist in Prosthodontics & Restorative Dentistry
Active member, European Academy of Aesthetic Dentistry
